The original picture
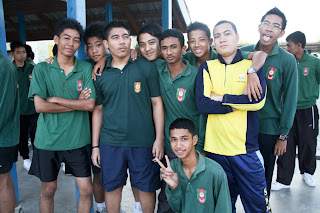 ok, the tutorial begin here..haha
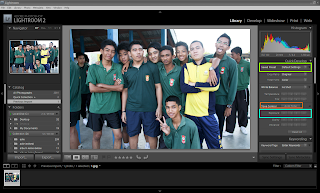
1. Open the original pic at Adobe Lightroom 2, then select Saved Preset > Creative - Cold Tone (at the green outline box), next control the Exposure (at the light blue outline box), click the arrow (<) for 6-7 clicks and make a new one again but select Auto Tone (at the orange outline box) n click it.
2. And the result for the picture will be shown as same like below.
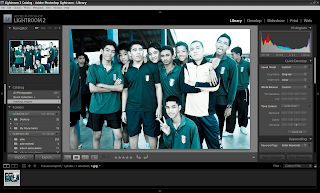
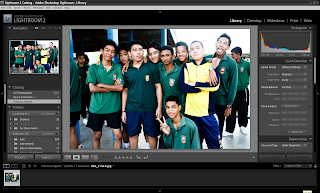
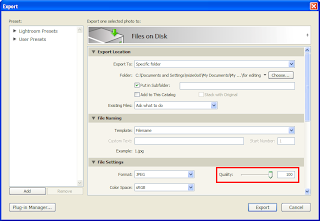
3. Save the both pic by export it as .jpeg at a folder. I'll rename the cold tone pic as 1.jpg n the auto tone as 2.jpg. Make sure when u save it at Adobe Lightroom 2, u put the save pic qualtiy to 100% at the red outline box.
4. Open the both pic .jpeg at Adobe Photoshop
5. Use the Move Tool (V), drag the pic 1.jpeg to 2.jpeg
6. After drag the pic, the layer box will show as below
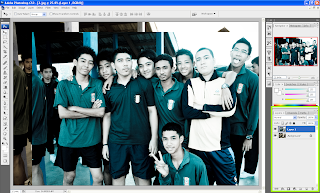
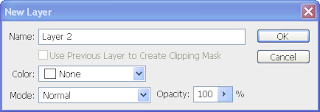
7. At the Layer Box, right-click at the background layer, and select Layer from background. A window of New Layer will pop-out then. Rename it as Layer 2 > Ok.
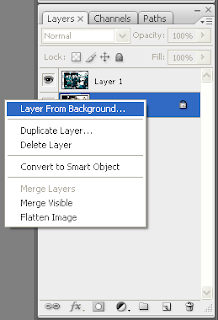
8. The layer box will shown like below
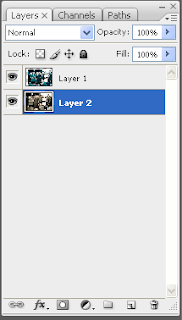
9. Use Crop Tool (C) to crop like u want.
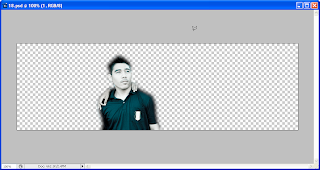
10. Invisible all the layer except Layer 1, select Layer 1 and use Polygonal Lasso Tool to make a selection to my body with 10 px Feather. So settle at Layer 1. The display will look like below
11. Now, invisible all the layer except Layer 2, select Layer 2.
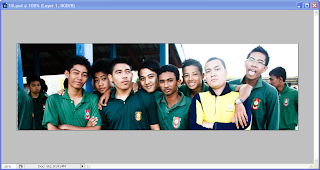
12. Filter > Blur > Gaussian Blur and set radius to 3.6px
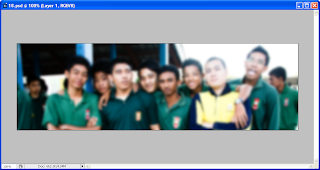
13. Filter > Blur > Motion Blur and set then angle 0 and distance 14px

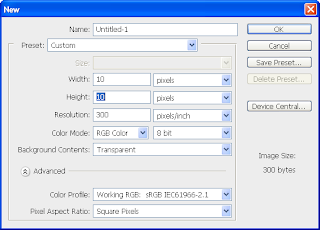
14. Open New > 10px x 10px and set Background Contents > Transparent
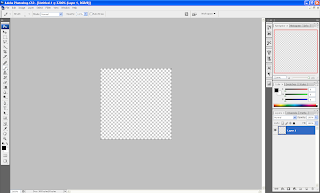
15. Use Zoom Tool (Z) and select Fit Screen to see more clearly
16. Use Pencil Tool and do like below
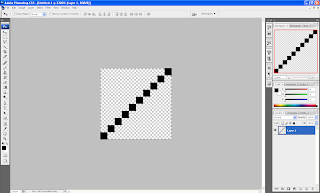
17. Next, Edit > Define Pattern n rename it as 1
18. Back to our main document, select Layer 2 n right-click > Blending Option
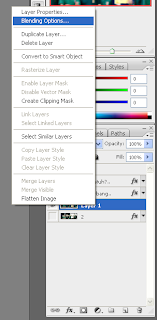
19. Tick Pattern Overlay > select the pattern which we rename it 1 before this n set then Scale > 65 n Blend Mode > Color Burn
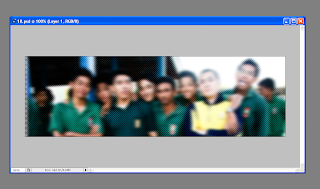
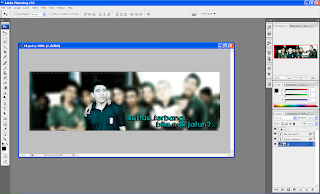
20. Arrange the Layer 1 at top of Layer 2 n y'all can visible all the layer to get like below (at some text to make it more attractive..hehe)
Important
* Actually, Adobe Lightroom 2 tu hanya tuk y'all edit pic like sephia, cold tone or other preset. (kalau x guna pon x pe..juz to make it more cun laaa..)
* The real one of my header at this blog is combination of 3 pic of other preset : cold tone, auto tone, n aged photo
* Baru sedar bila da wat separuh sal tutorial nie baru perasan guna 3 pic.
* Sorry, tapi tutorial kat atas nie betul² sama step yang ak wat untuk header ak
* But pandai² la blend layer or blend + merge layer tuk dapat kan result yang lagi cun..huhu..
* All image above is thumbnail, click it to view at the real pixel/reso
* Pada sape² yang still x puas ati lagi tuk dapat kan result macam yang ak nye..ak kasi korang file psd nie yang ori ---> Download
* Kalau ada apa² yang x paham, sila tanya n ak gile babi berbesar hati nak tutor..ngeehaha..


2 kata²:
thnx a lot bro..
its really helpful..
my pleasure
Post a Comment